Wednesday, December 30, 2015

Valentines Woven Heart (for Clips or Barrette)

I was looking threw Pinterest and saw a ton of those woven hearts to use for clips or barrettes but most were etsy store sites or just pictures no instructions so here is the HOW TO/DIY.

 Start off with the basics!

You will need a lined alligator clip or a lined barrette clip. ribbon scissors, glue gun, and a lighter.

Ribbon of choice.

This ribbon is from Micheal's their Celebrate it line.


Start off with two pieces of 3/8 inch grosgrain ribbon cut at 3 1/2 inches long, this seems to be the right length and width of ribbon I have found.

You can also try a silk or stain ribbon also sized at 3/8 inch width.
 Don't forget to seal the edges with a lighter.

Take a dab of glue and position like you see the picture, to form a V, one ribbon on top of the other and make sure the edges are clean and lined up.
 Then take one of the free edges and fold to make a loop and add a small dab of glue and adhere it to the back of the other ribbon.

Making sure it lines up and its flush with the edges.
 This is what the back looks like after gluing it together.
Take the last loose ribbon and go under the loop and over the ribbon.

Its kinda tricky but add a small dab of glue and line up the edges.

I did this a few times tell I got it down.
 This is what the back looks like, that top/middle square part of the woven heart is not adhered I added a dab of glue to make it more sturdy.

I added a line of glue near the middle of the square of the woven heart on the back and attached to alligator clips and barrettes that I purchased from Hobby Lobby in their Jewelry Section.
Finished, the possibilities for color are endless.

Lexi modeling the barrette which is a 2 inch size.

Lexi modeling the alligator clip.

I made six total, two on alligator clips, 2 on 1 1/2 inch and 2 on 2 inch barrette clips.

To visit my Clippies and Bows oh my Facebook Page click here https://www.facebook.com/ClippiesandBows/

Some basic supplies I use I purchase from Hobby Lobby or Micheal’s with coupons or on sale

Hobby Lobby brand is called The Paper Studio
their website is http://www.hobbylobby.com/home.cfm
The barrettes and alligator clips from the Jewelry section when they go on sale.

Micheal’s brand is called Recollections

their website is http://www.michaels.com/
Most of my ribbon

How To: Line a Barrette Clip (1 1/2, 2, and 2 1/2 inches)

How To: Line a Barrette Clip (1 1/2, 2, and 2 1/2 inches)

This is a step by on how I line my Barrette Clips for my daughters hair bows or hair clips, however you like to call them.

 These are the three sizes of Barrettes that I have.

1 1/2
2
2 1/2

Purchased at Hobby Lobby when they go on sale which is not often maybe one time a month.
 I have found for Barrettes its easier to leave the ribbon on the roll while lining the clips.

Start by using a lighter to seal the starting edge.
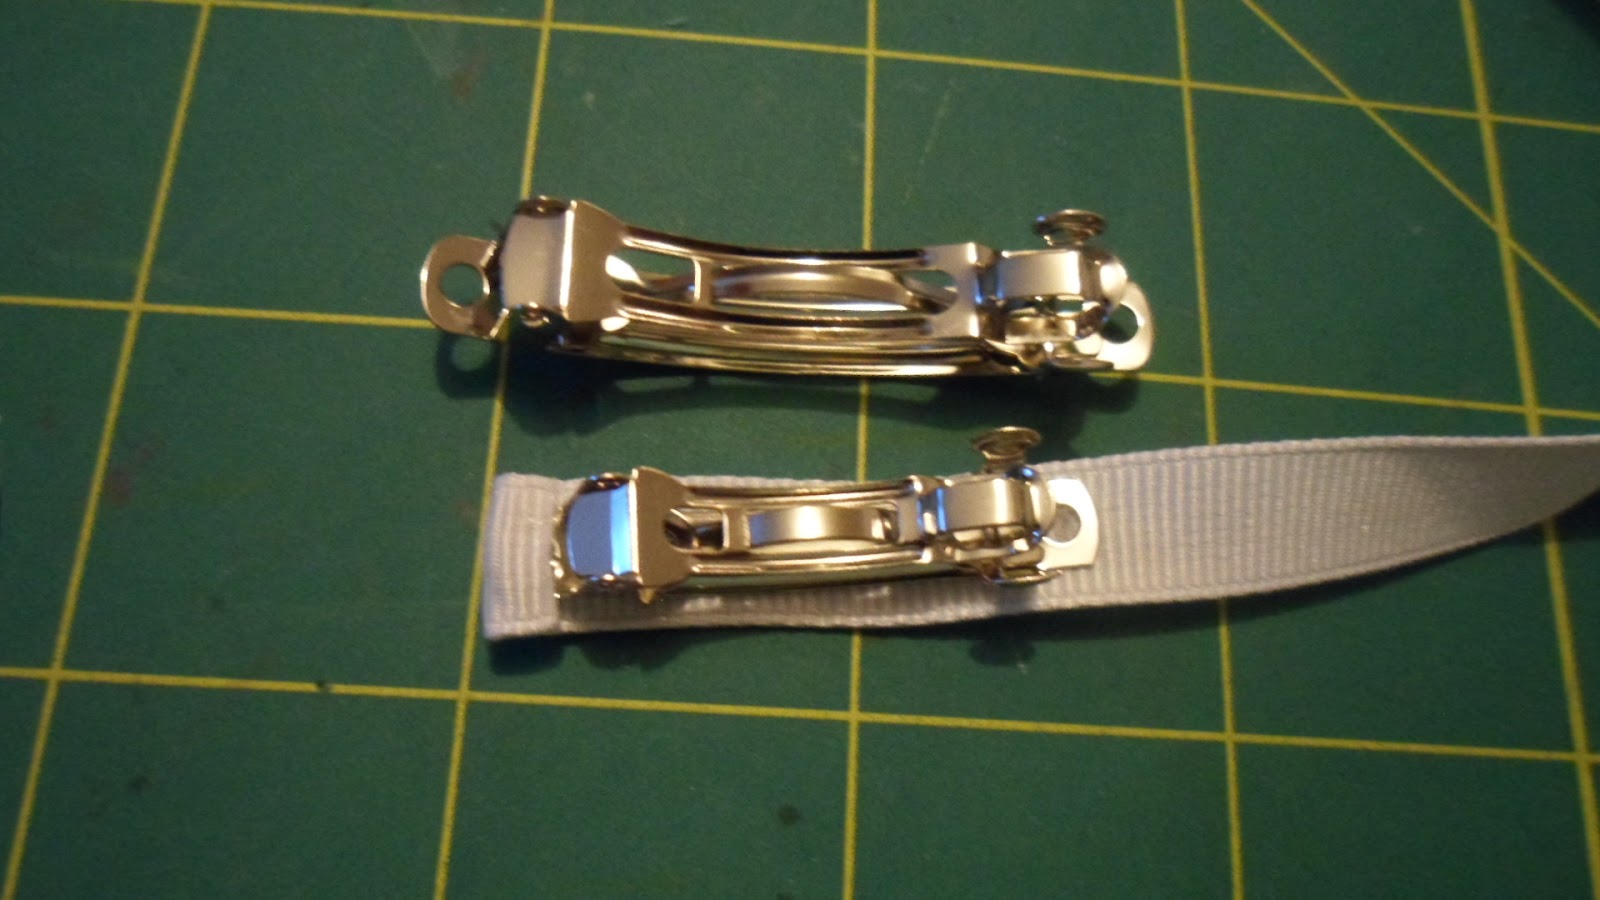
 This is flipped over, I added a small amount of hot glue to one side, the area with the hole near it.

See picture comparison.
 These are flipped the right way now, you will want to add glue along the top tell you get to the other hole on the right side.
 These are what they look like flipped over.
 This is what they look like the right way.
 You will want to cut and seal before gluing to the back of barrette.

Its about 1/4 of an inch extra grosgrain ribbon.

And you will put a small dab of glue over the hole and fold over.
Here is what it looks like from the back. 

Here is what it looks like from the front.


To visit my Clippies and Bows oh my Facebook Page click here https://www.facebook.com/ClippiesandBows/


Some basic supplies I use I purchase from Hobby Lobby or Micheal’s with coupons or on sale

Hobby Lobby brand is called The Paper Studio
their website is http://www.hobbylobby.com/home.cfm

I purchase my Barrettes and Alligator clips when they go on sale in their Jewelery section

Micheal’s brand is called Recollections
their website is http://www.michaels.com/

I purchase most of my ribbon when it goes on sale, especially my plain colored 3/8 inch grosgrain ribbon.


How To: Line an Alligator Clip (2inches)

How To: Line an Alligator Clip (2inches)

Here is a step by step on how I line my 2 inch Alligator Clips for my daughters hair bows or hair clips however you like to call them.

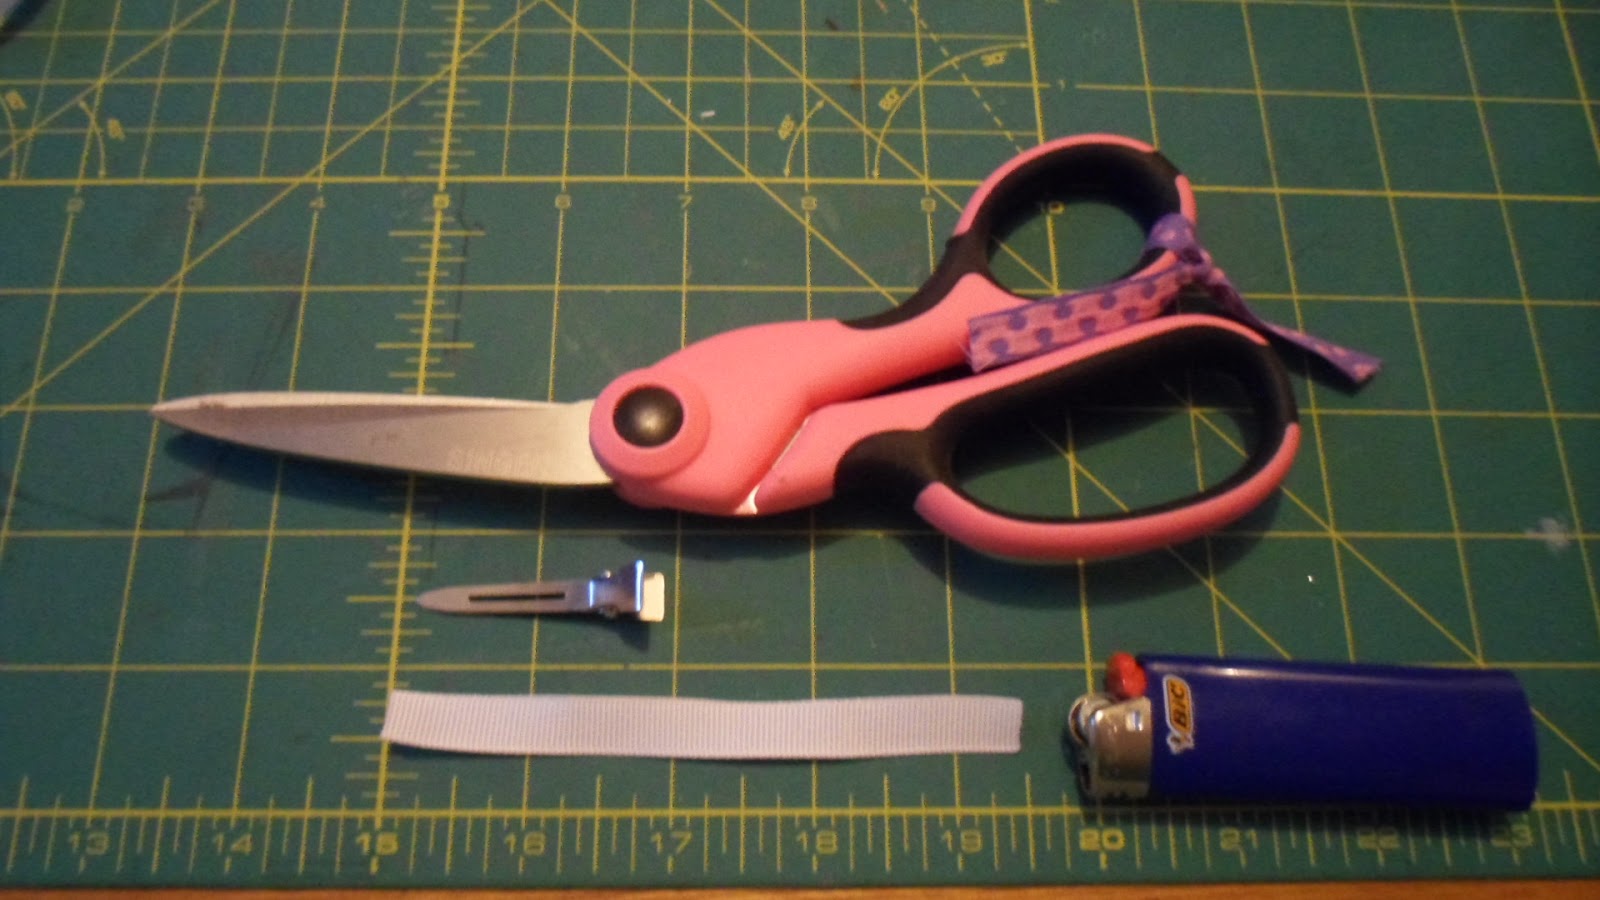
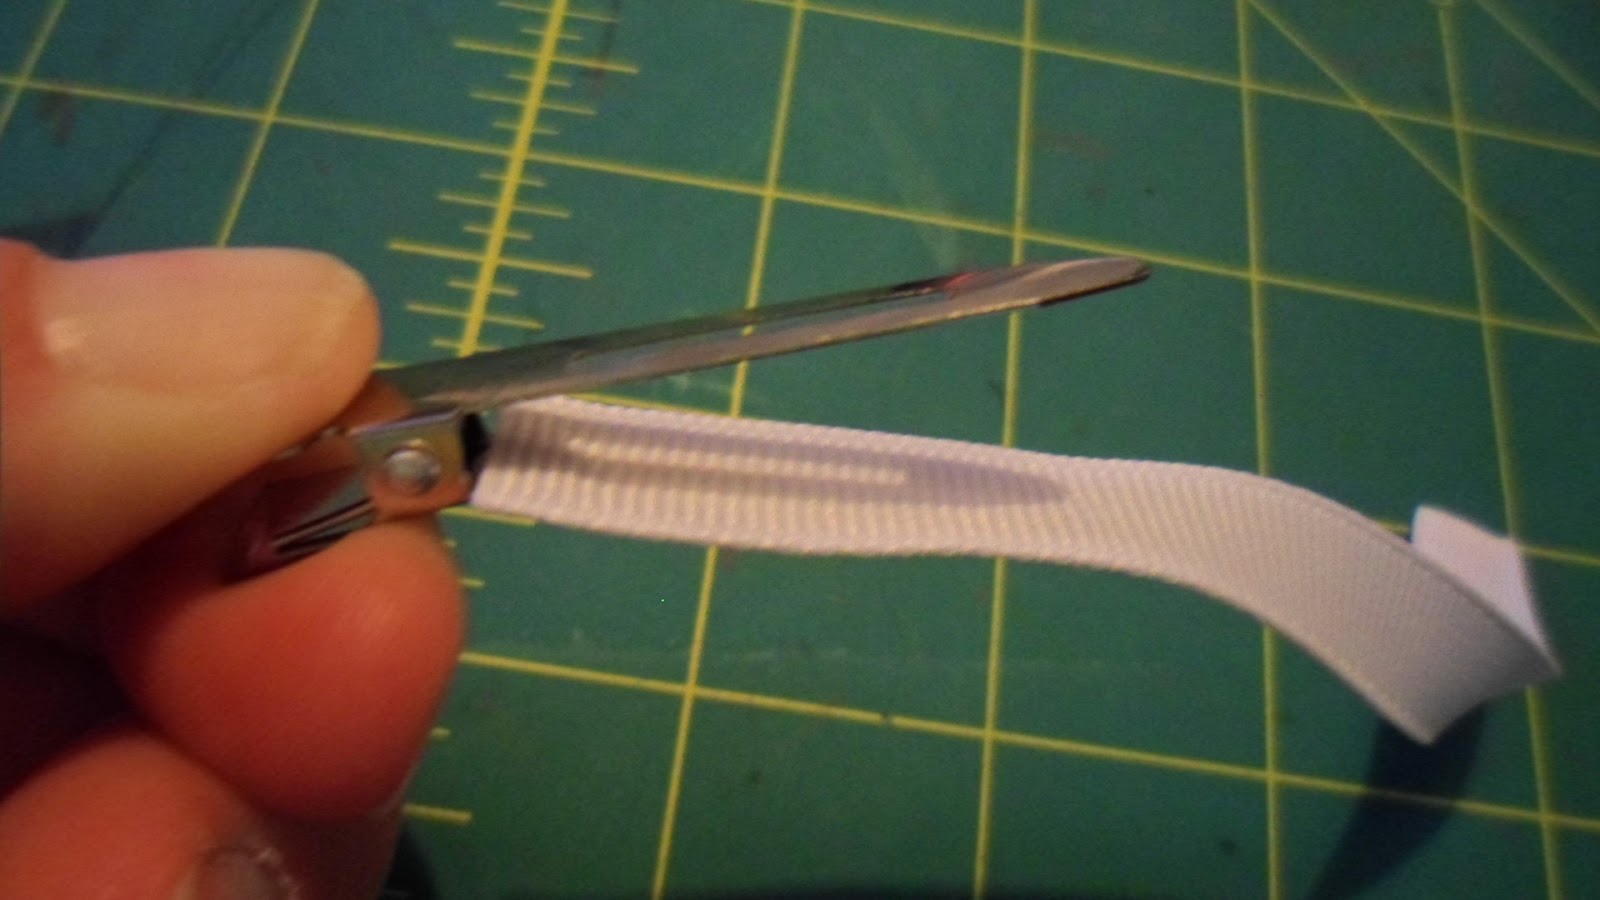
 First measure your ribbon by wrapping it around the sized Alligator clip you will be using.

Grosgrain ribbon is preferred when you are lining Alligator clips.

This is a 3/8 inch white grosgrain ribbon purchased from Micheal's usually when they are on sale I stock up.
 You will need to cut it with a good pair of scissors that you only use for ribbon, I have tied a ribbon to these scissors so my family knows that these are only for ribbon and not paper or household things, this way your scissors will stay sharp.

After you cut your ribbon use a lighter to quickly seal the edges to prevent fraying.
 I have a couple inexpensive glue guns on hand and this is a low temp glue gun.

I also purchased an inexpensive stand for it as well which is ever so helpful.

Both purchased from my local Micheal's Arts and Crafts store.
 Hold your clip upside down and apply some glue in two spots one where my thumb is and the other to the far right.

See bottom picture.
 This is what it will look like.
 Flip over and add a small line of glue starting from the right and heading to where my pointer finger is.
It will look like this, then add two dots where the clip part is that opens and closes it.


Add glue to the left over part of the ribbon and put over the back of the clip.


Finished

Side View

When its opened.
There are many ways to line Alligator hair clips this is just how I do mine.

Micheal’s is where I purchase allot of my ribbon

their website is http://www.michaels.com/

To visit my Clippies and Bows oh my Facebook Page click here https://www.facebook.com/ClippiesandBows/


Thursday, September 17, 2015

Mickey Mouse Hair Clip made with Buttons

For our Vacation to Disney Land later in the month of October I wanted to make my girls some Disney/Fall bows and hair clips.

I found this website and took my inspiration from their.

I am using a tiny circle die to cut out some black felt backing. This die is like 1/2 inch by 1/2 inch.

I run it threw my big shot back and forth about three times to get a nice clean cut from the felt.
 These buttons are from a multi pack of black and white that I purchased at my local craft store.

The clips are smaller then the standard clips, I beileve these are geared for little kids under the age of five but I know they will work for my almost seven year old as well.
 I added some hot glue to one side of the bigger button.
 Then place on the hair clip so the button holes are straight and still visible.
Add some more hot glue and the felt piece to cover.

This will help make it so hair doesnt get stuck to the glue residue.
 Add a tiny amount of hot glue to the bottom of the small button and place near the top of the clip on the left.
Add the second button right next to the first one and your done.

The back of the clip.
To Visit my Face Book page https://www.facebook.com/ClippiesandBows


Wednesday, July 24, 2013

Christmas Catapillar Clippie

Here is a Clippie that I saw searching Pinterest. I believe there was an Etsy shop selling them but they no longer sold them and I knew I could make it myself and I had all the supplies already in my craft room.

This can be changed up to be a Valentines Caterpillar or even a Halloween Caterpillar, just by changing the colors of the pom poms.

Heat seal the ends of your 4 inch's of 3/8 inch red with white polka dot grosgrain ribbon.

I believe if you wanted to use a red and white gingham ribbon you can or even a red and white stripe ribbon or even a red or white satin ribbon or grosgrain ribbon.  Just use what you have, red and/or white to give the Christmas feel.
This is how my alligator clip looks like after I have lined it.  My clip is just shy of 2 inches long.


 Arrange your pom pomp's the way you want them and start at the flat side of you clip. Add a small amount of hot glue to the bottom and hold down the pom pom for about a min.
 After the second pom pom is glued down you can add some antenna if you would like, just cut a 1 inch piece down the middle and heat seal the edges, I used tweezers so I wouldn't burn my fingers.
 Add the antenna to the second pom pom and then add the third one.

Add some google eyes and your done.  My google eyes are small like 1/2 cm.


 The odd thing about this clip is you have to push down his head to open the clip.  I may look for some different sized alligator clips or smaller pom pom's.  But its cute and different and Alexis thinks its cool.


Tuesday, December 18, 2012

Snow man clippies

I saw this on Etsy and I've seen tutorials on you tube as well. This isn't my original design but wanted to help out my fellow bow makes and show you how to make them.

White 7/8 inch gross grain ribbon to line your alligator clip cut at 4 inches.

This is a single prong clip but you can use what ever you have on hand.
Black 7/8 inch gross grain ribbon for the hat.

1 cut at 1 inch and the other at 1 3/8 inch.

Small bead of hot glue along the smaller piece on the bottom and attach to larger piece.
White 7/8 inch gross grain ribbon cut at 2 3/4 inches, 4 inches, and 4 3/4 inches.

Glue ends of each together to form 3 circles.

Glue the circles together to form the body.
White 7/8 inch gross grain ribbon cut at 3 inches and 3 1/2 inches.

Again glue edges together to form 2 circles and glue those together to form the head.
Using the bunches/glued ends of the head and body glue them together.

Using small amount of glue on the top of the head glue hat on.
For the scarf you can use 5 1/2 inches of which ever ribbon you choose.  This is a light blues 7/8 inch gross grain with snowflakes on it. 

Glue just next to the opening of the clip, not on the opening a small amount, Almost near the center of the clip.  You'll want to leave less on one half to be able to fold over the neck of snowman.  Place ribbon pattern size down.
Glue snow man on top.
Fold over smaller section over the neck part and glue a bit to the side of the body. You can add some glue to the neck for support as well.
 fold over and add a bit of glue to the part that you glued over the neck to secure/hide the end.

Add a bit of glue to the side of snowman and continue to fold over.

Cut a notch and heat seal.

Finished Snowmen Clippies.   I added some gems to the corners of their hats to make my clips personal.

Ensure you heat seal all the edges of your ribbon before putting together to prevent fraying. A lighter works well.

I used a hot glue gun for the gluing parts.