So I went on You Tube and Pinterest and gave it a try.

I found a variety on clearance at Walmart the last time I went and got groceries.
Start off by cutting a piece 6 inches wide.

A rotary cutter is nice but a pair of sharp scissors will work as well.
A tip to keep those fabric scissors sharp is to put a ribbon on the handle so that you know those are only for ribbon.
I am also using a T-Squared ruler to help me get a straight cut.

Fold in half and on that half line add a line of hot glue and fold the bottom to that glue line.

Add anouther line of hot glue right on the seem of the first line of glue and fold the fabric over.

Add anouther line of hot glue on the seem and bring one side of the fabric to the glue.


Do the same to the top.

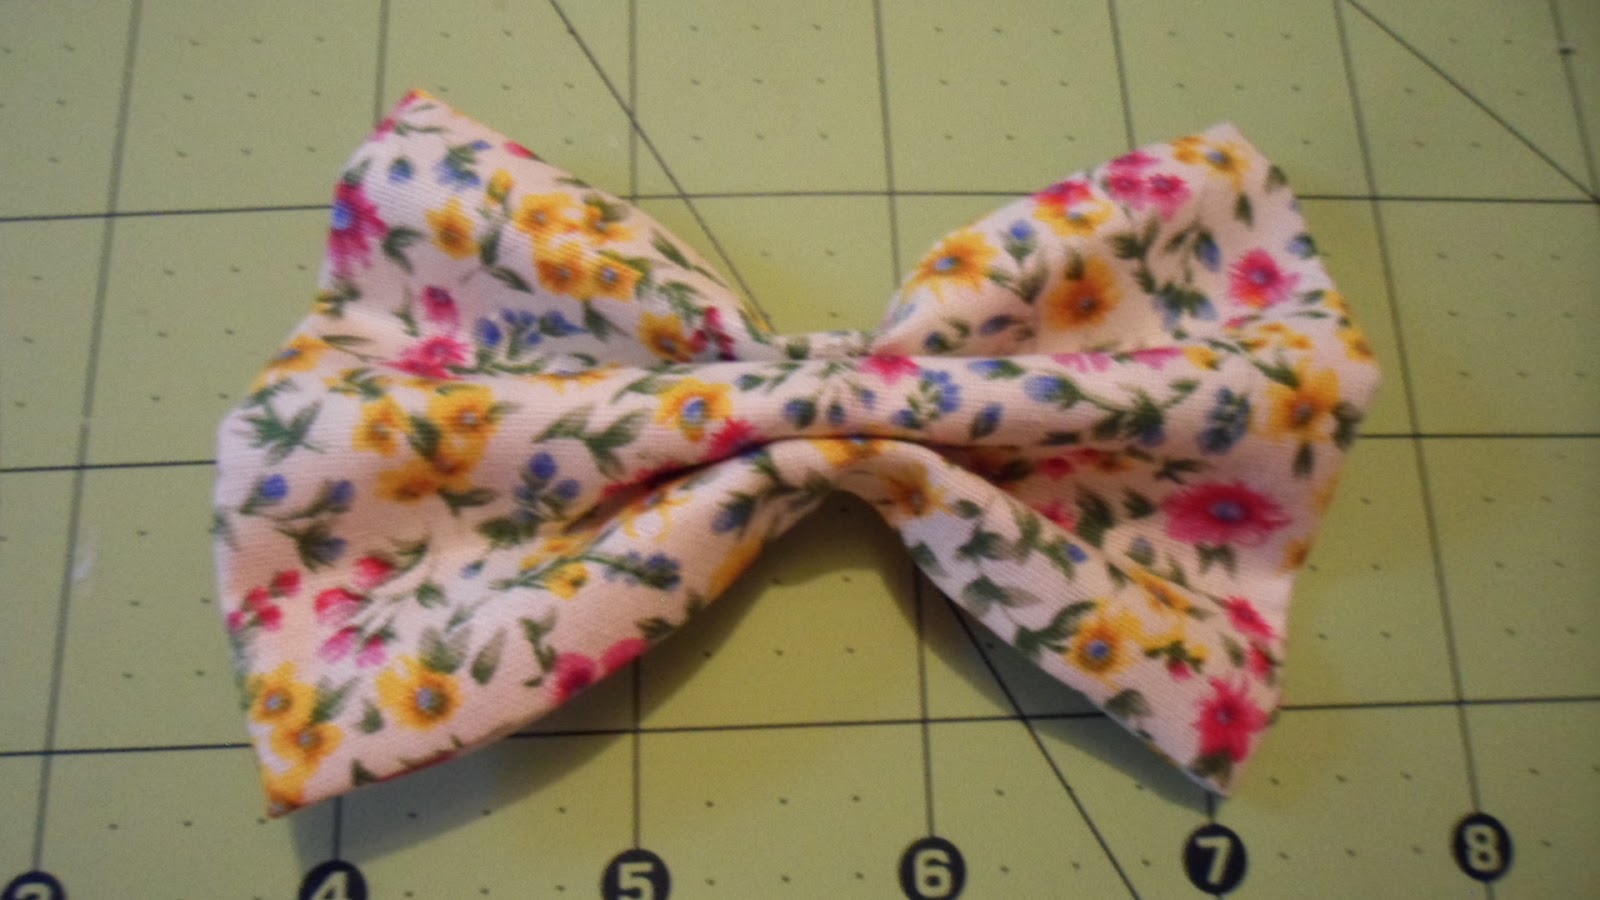
You are basicly acordian folding the fabric.
Make sure to hold in place for a few seconds to let the glue set and dry.

I am also using a Hot Temp Glue Gun that I got from Hobby Lobby in their fabric/ribbon section.

See picture, add a dab of glue and hold tell set.


Add a ling of glue on the fold and bring up one side of the fabric.

Trim off the edges.


You can trim if if its too long before you glue the final flap down.
You do not want it to start to show on the front.


Alexis likes it Messy Bun way, she is 8 years old.


You will want to add a dab of glue to the top and sides to secure, not all the way around.
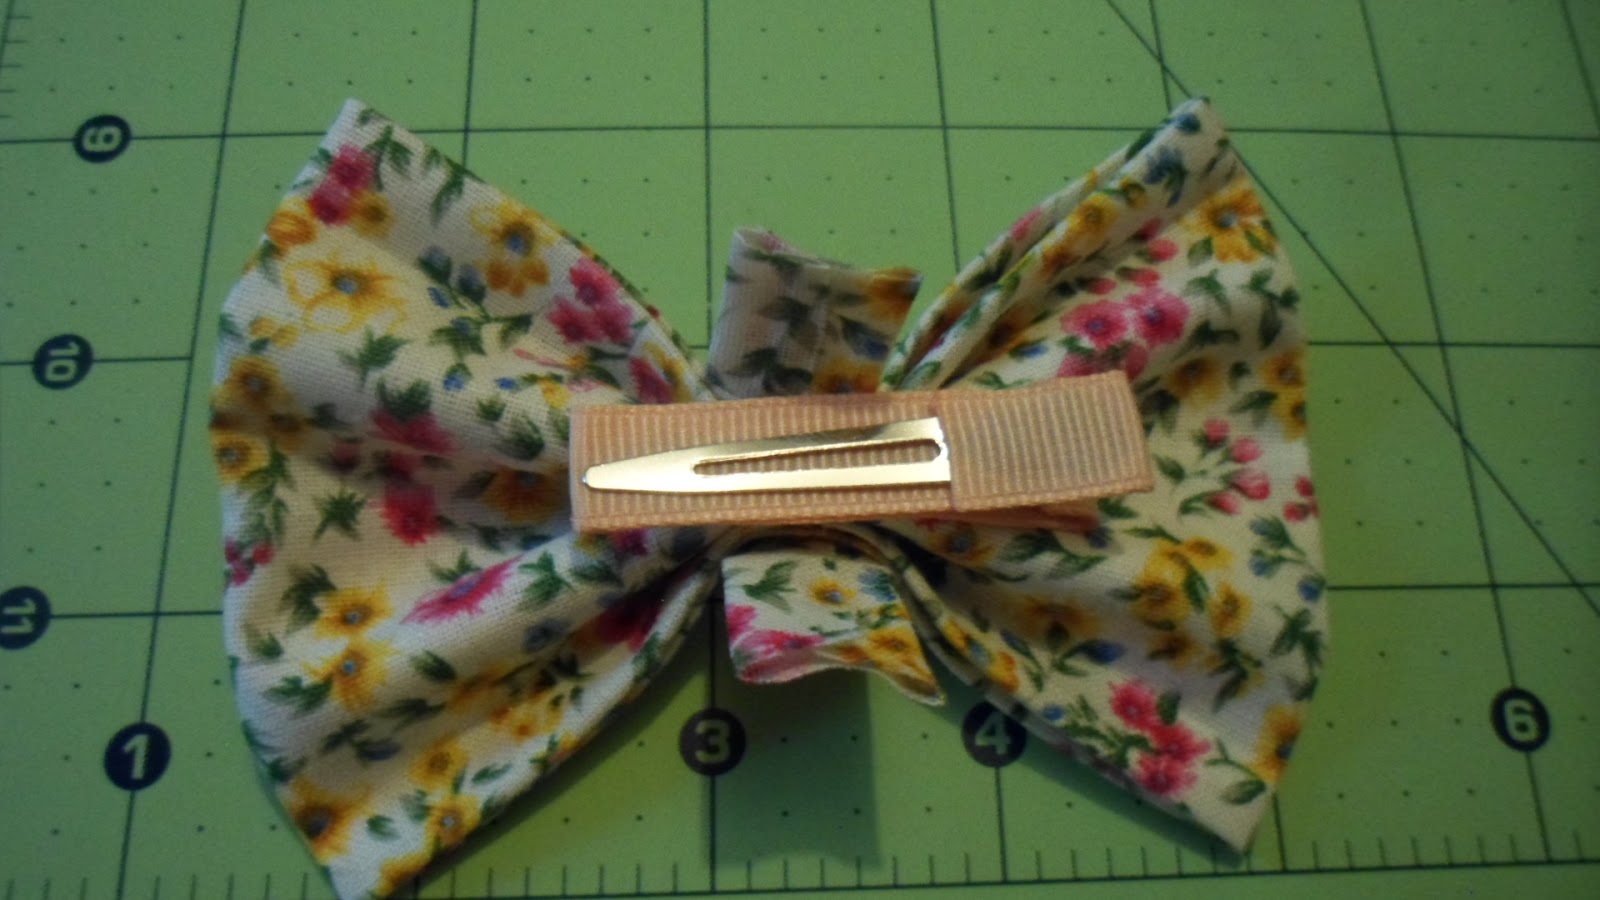

You can glue the two flaps like shown.


Take apart the clip, the center piece.

Try and get it centered but it is OK if its not.


Some basic supplies I use I purchase from Hobby Lobby or Micheal’s with coupons or on sale
Hobby Lobby brand is called The Paper Studio
their website is http://www.hobbylobby.com/home.cfm
- High Temp Glue Gun
- Jewelry Shoppe hair barrettes and alligator clips
Micheal’s brand is called Recollections
their website is http://www.michaels.com/
Dollar Store site http://www.dollartree.com/home.jsp
Target Store site http://www.target.com/
To visit my Clippies and Bows oh my Facebook Page click here https://www.facebook.com/ClippiesandBows/